
Download and verify the SeedSigner software
Your SeedSigner runs whatever is on its microSD card, and it does not check the software when it starts. Checking the file once, before you write it to the card, is how you make sure it is the unaltered release published by the SeedSigner project. It takes about ten minutes.
You do everything on your own computer. Nothing is uploaded, and you do not have to trust us or any other website for the result.
1. Download the files
Open the latest SeedSigner release on GitHub and download these three files from the Assets list into the same folder:
seedsigner_os.<version>.pi0.img: the software for the Raspberry Pi Zero v1.3 in our SeedSigners and kits. Built your own with a Raspberry Pi Zero 2 W? Then takepi02w.img.seedsigner.<version>.sha256.txt: the list of checksums for all imagesseedsigner.<version>.sha256.txt.sig: the signature of that list
Do not open or mount the .img file before checking it: some operating systems change the file when they mount it, and the check fails.
Your device has a smartcard slot (ShieldSigner)? It runs different software: go to ShieldSigner below.
2. Check the signature
The signature proves that the checksum list comes from the SeedSigner project. You need GPG: on Linux it is usually installed (package gnupg), on macOS install GPG Suite or brew install gnupg, on Windows install Gpg4win. Then open a terminal in the download folder.
Import the SeedSigner public key:
gpg --fetch-keys https://keybase.io/seedsigner/pgp_keys.ascCheck the signature of the checksum list:
gpg --verify seedsigner.*.sha256.txt.sigThe output must contain Good signature from “seedsigner” and this primary key fingerprint:
Primary key fingerprint: 4673 9B74 B56A D88F 14B0 882E C7EF 7090 0726 0119A warning that the key is “not certified with a trusted signature” is normal: it only means you have not marked the key as trusted in GPG yourself. What matters is the fingerprint.
Do not take the fingerprint from this page alone. Compare it with sources we do not control: keybase.io/seedsigner, seedsigner.com/keybase.txt and the official instructions on GitHub. At least the last 16 characters (C7EF 7090 0726 0119) must match everywhere.
3. Check the image
Now check that your image matches the signed checksum list.
Linux and macOS:
shasum -a 256 --ignore-missing --check seedsigner.*.sha256.txtThe result must end with OK for your image, for example seedsigner_os.0.8.7.pi0.img: OK.
Windows (PowerShell): calculate the checksum of your image and the matching line from the list:
Get-FileHash .\seedsigner_os.*.pi0.img -Algorithm SHA256
Select-String pi0.img .\seedsigner.*.sha256.txt
Both long values must be identical; upper or lower case does not matter.
4. Write it to the card
Write exactly the file you checked to the microSD card. Our guide for Raspberry Pi Imager shows every step with screenshots. Leave the verification after writing switched on, then put the card into your SeedSigner and connect the power.
Keep the card with your device. A card you did not write yourself is not checked.
5. First start: the SeedSigner+ display
All SeedSigner+ devices from us (SeedSigner+, SeedSigner+ Premium, battery SeedSigner+ and ShieldSigner) have the bigger 2.8-inch display. The software starts with a setting for the small display, so the picture looks wrong at first. You change this once:
- Open Settings and switch on Persistent settings first. Without it, the next change is forgotten every time you switch off.
- Then go to Advanced, Hardware, Display type and choose st7789 320×240.
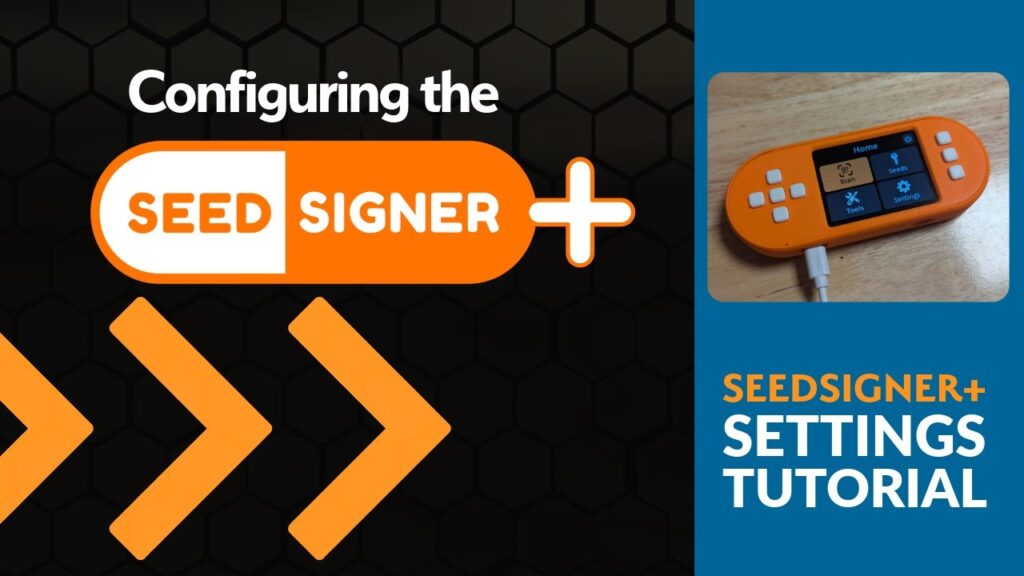
The video shows every step:
If something does not match
Stop and do not use the file. Download all three files again directly from GitHub and repeat the check. If it still fails, ask in the SeedSigner community or write to us.
A valid signature and checksum mean that you have exactly the file the SeedSigner project published, unchanged. They do not mean the software is free of bugs, so read the release notes of the version. SeedSigner images are built reproducibly: anyone can build them from the source code and get the same checksum.
ShieldSigner
The ShieldSigner uses the smartcard slot, so it runs ShieldSigner, a SeedSigner fork by 3rdIteration (YTCryptoGuide) with Satochip smartcard support. It is a different codebase with less review than SeedSigner itself. Downloading and checking works a little differently:
- Open the latest ShieldSigner release and download
seedsigner_os.<version>.pi0-smartcard.img.zip. Unzip it: the checksum belongs to the.imginside, not to the .zip. - Calculate the checksum of the image and compare it with the
pi0-smartcard.imgline under “SHA256 Checksums” in the release notes:
Linux and macOS:
shasum -a 256 seedsigner_os.*.pi0-smartcard.imgWindows (PowerShell):
Get-FileHash .\seedsigner_os.*.pi0-smartcard.img -Algorithm SHA256The checksum list is signed with a Bitcoin message signature from the address 37hiiSB1Poj6Shs8WawPS2HjT2jzHkFSQi. Check that this address really belongs to the developer, for example on cryptoguide.tips or in the descriptions of his YouTube videos. Then verify the signature in Sparrow (Tools, Verify Message) or Electrum (Tools, Sign/verify message):
- Address:
37hiiSB1Poj6Shs8WawPS2HjT2jzHkFSQi - Message: all checksum lines between the two dashed lines of the release notes, copied exactly, without an empty line before or after
- Signature: the text under “Bitcoin Message Signature”
The wallet must report the signature as valid. Then write the image to the card as in step 4 and set the display as in step 5.