How to flash the SeedSigner Image to an
SD-Card using Raspberry Pi Imager
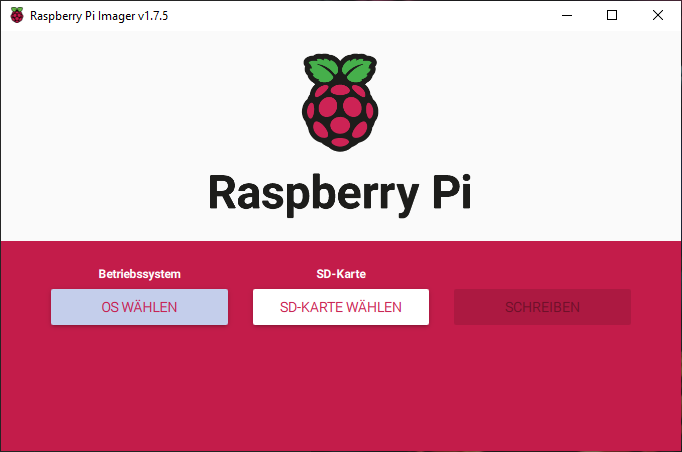
Step 1:
Open Raspberry Pi Imager and click “Choose OS”
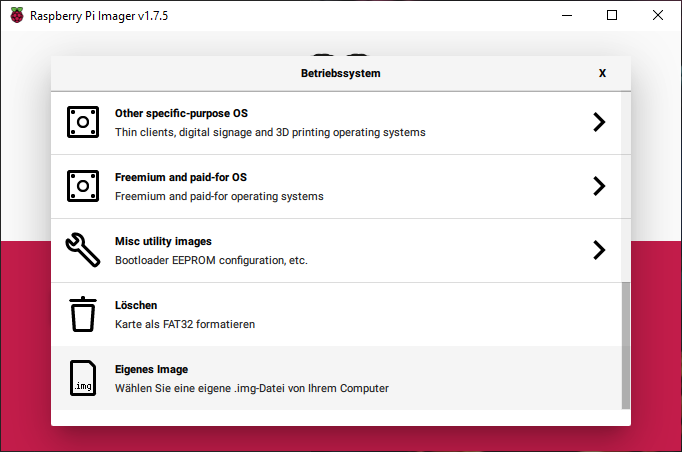
Step 2:
Scroll down all the way and click on “Custom Image”
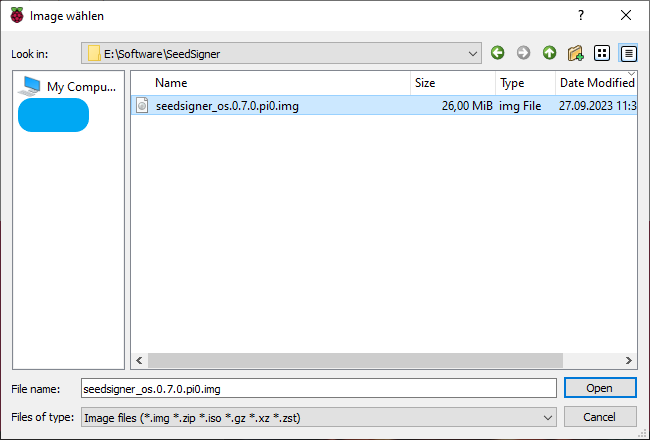
Step 4:
Select the most up to date SeedSigner image file and click “Open”
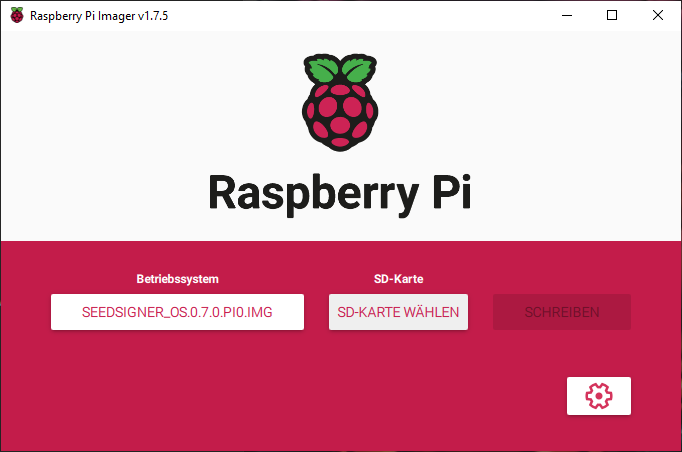
Step 4:
Click “Choose device”
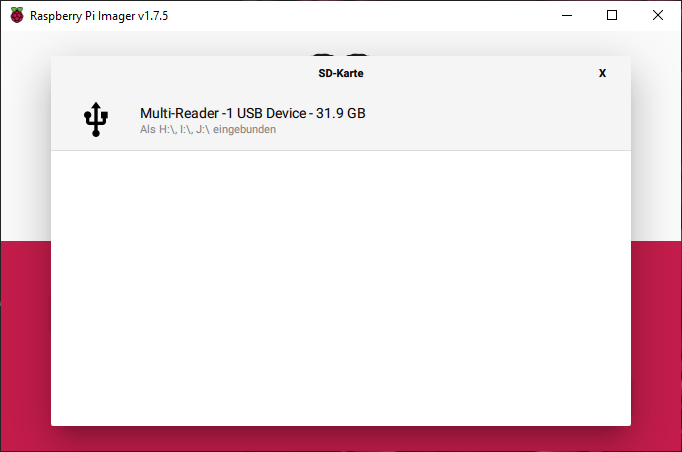
Step 5:
Select the correct device (verify by checking the size)
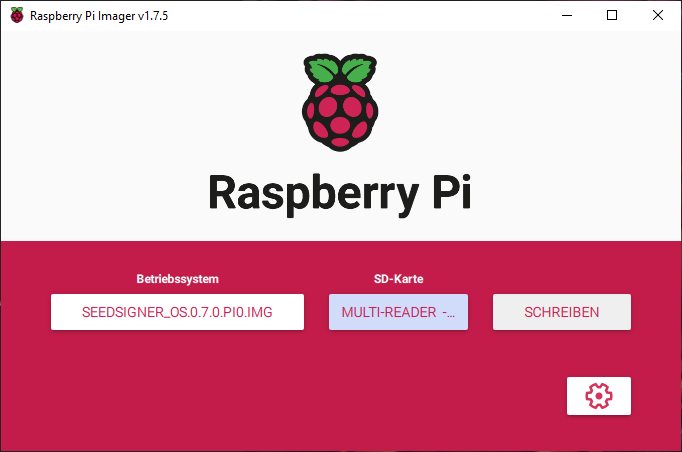
Step 6:
With everything selected, now click on “Write”
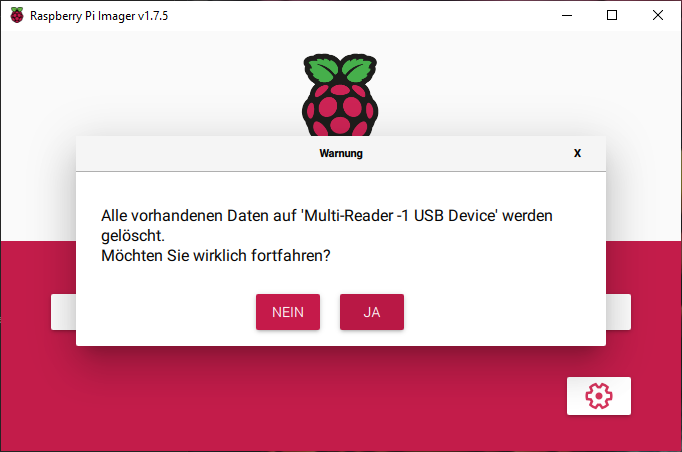
Step 7:
Confirm the prompt and wait for a few seconds
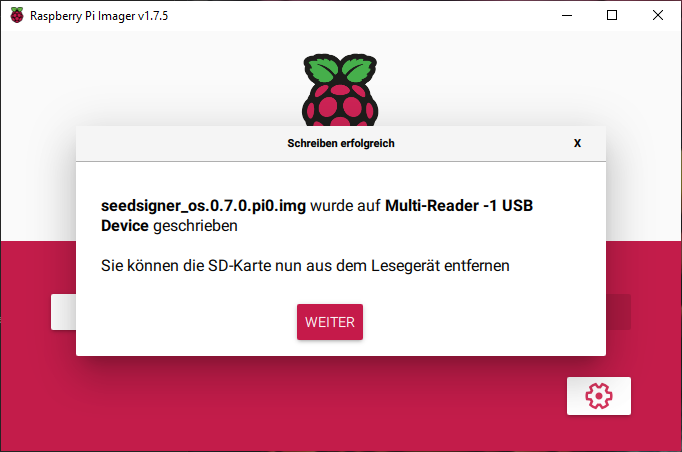
All done!
Remove your sd-card and insert it into your SeedSigner
Need further assistance?
Check out the Explainers Section at seedsigner.com or join the SeedSigner Telegram Channel.